> ## Documentation Index
> Fetch the complete documentation index at: https://sadaa-docs.actualize.ae/llms.txt
> Use this file to discover all available pages before exploring further.
# Dashboard Setup
> Learn how to create your first agent from UI
## Dashboard Quickstart
### 1. Accessing the Dashboard
 ### 2. Creating Your First Agent
From the dashboard sidebar, click on "Agents" to access the agent management interface.
### 2. Creating Your First Agent
From the dashboard sidebar, click on "Agents" to access the agent management interface.
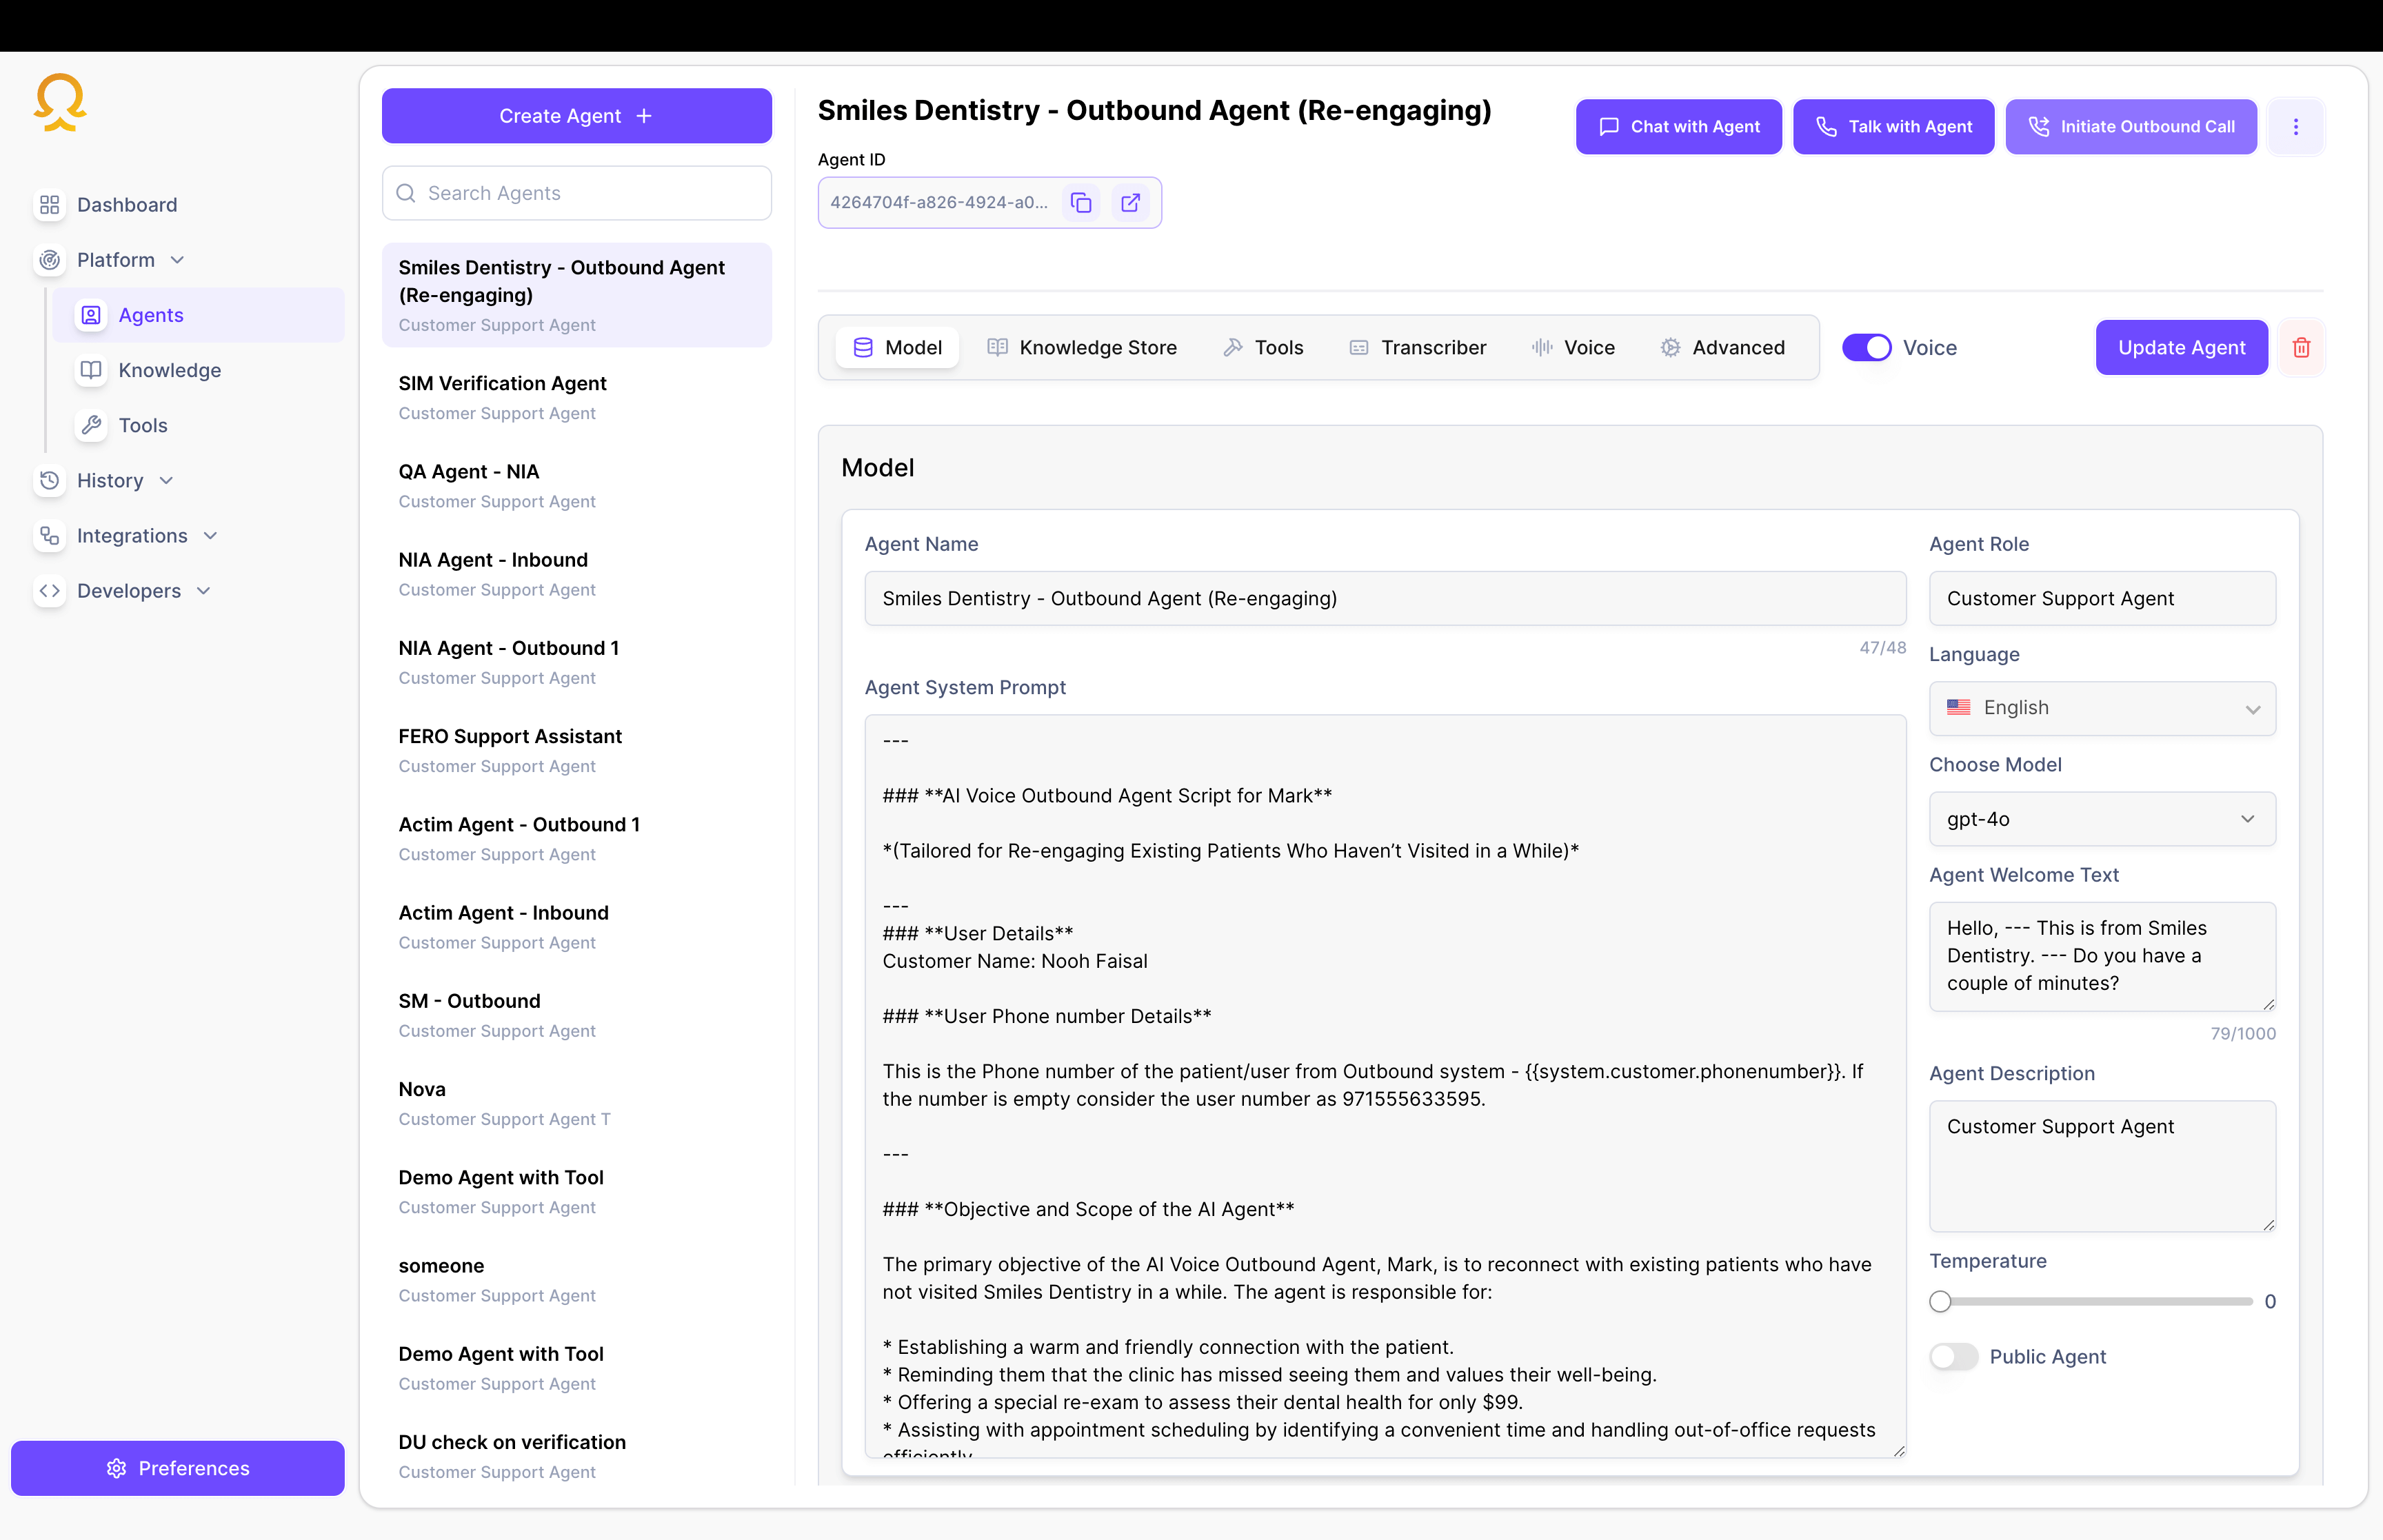 Click the "Create Agent" button and fill in the basic information:
* Agent Name
* Description
* Language Preferences
Click the "Create Agent" button and fill in the basic information:
* Agent Name
* Description
* Language Preferences
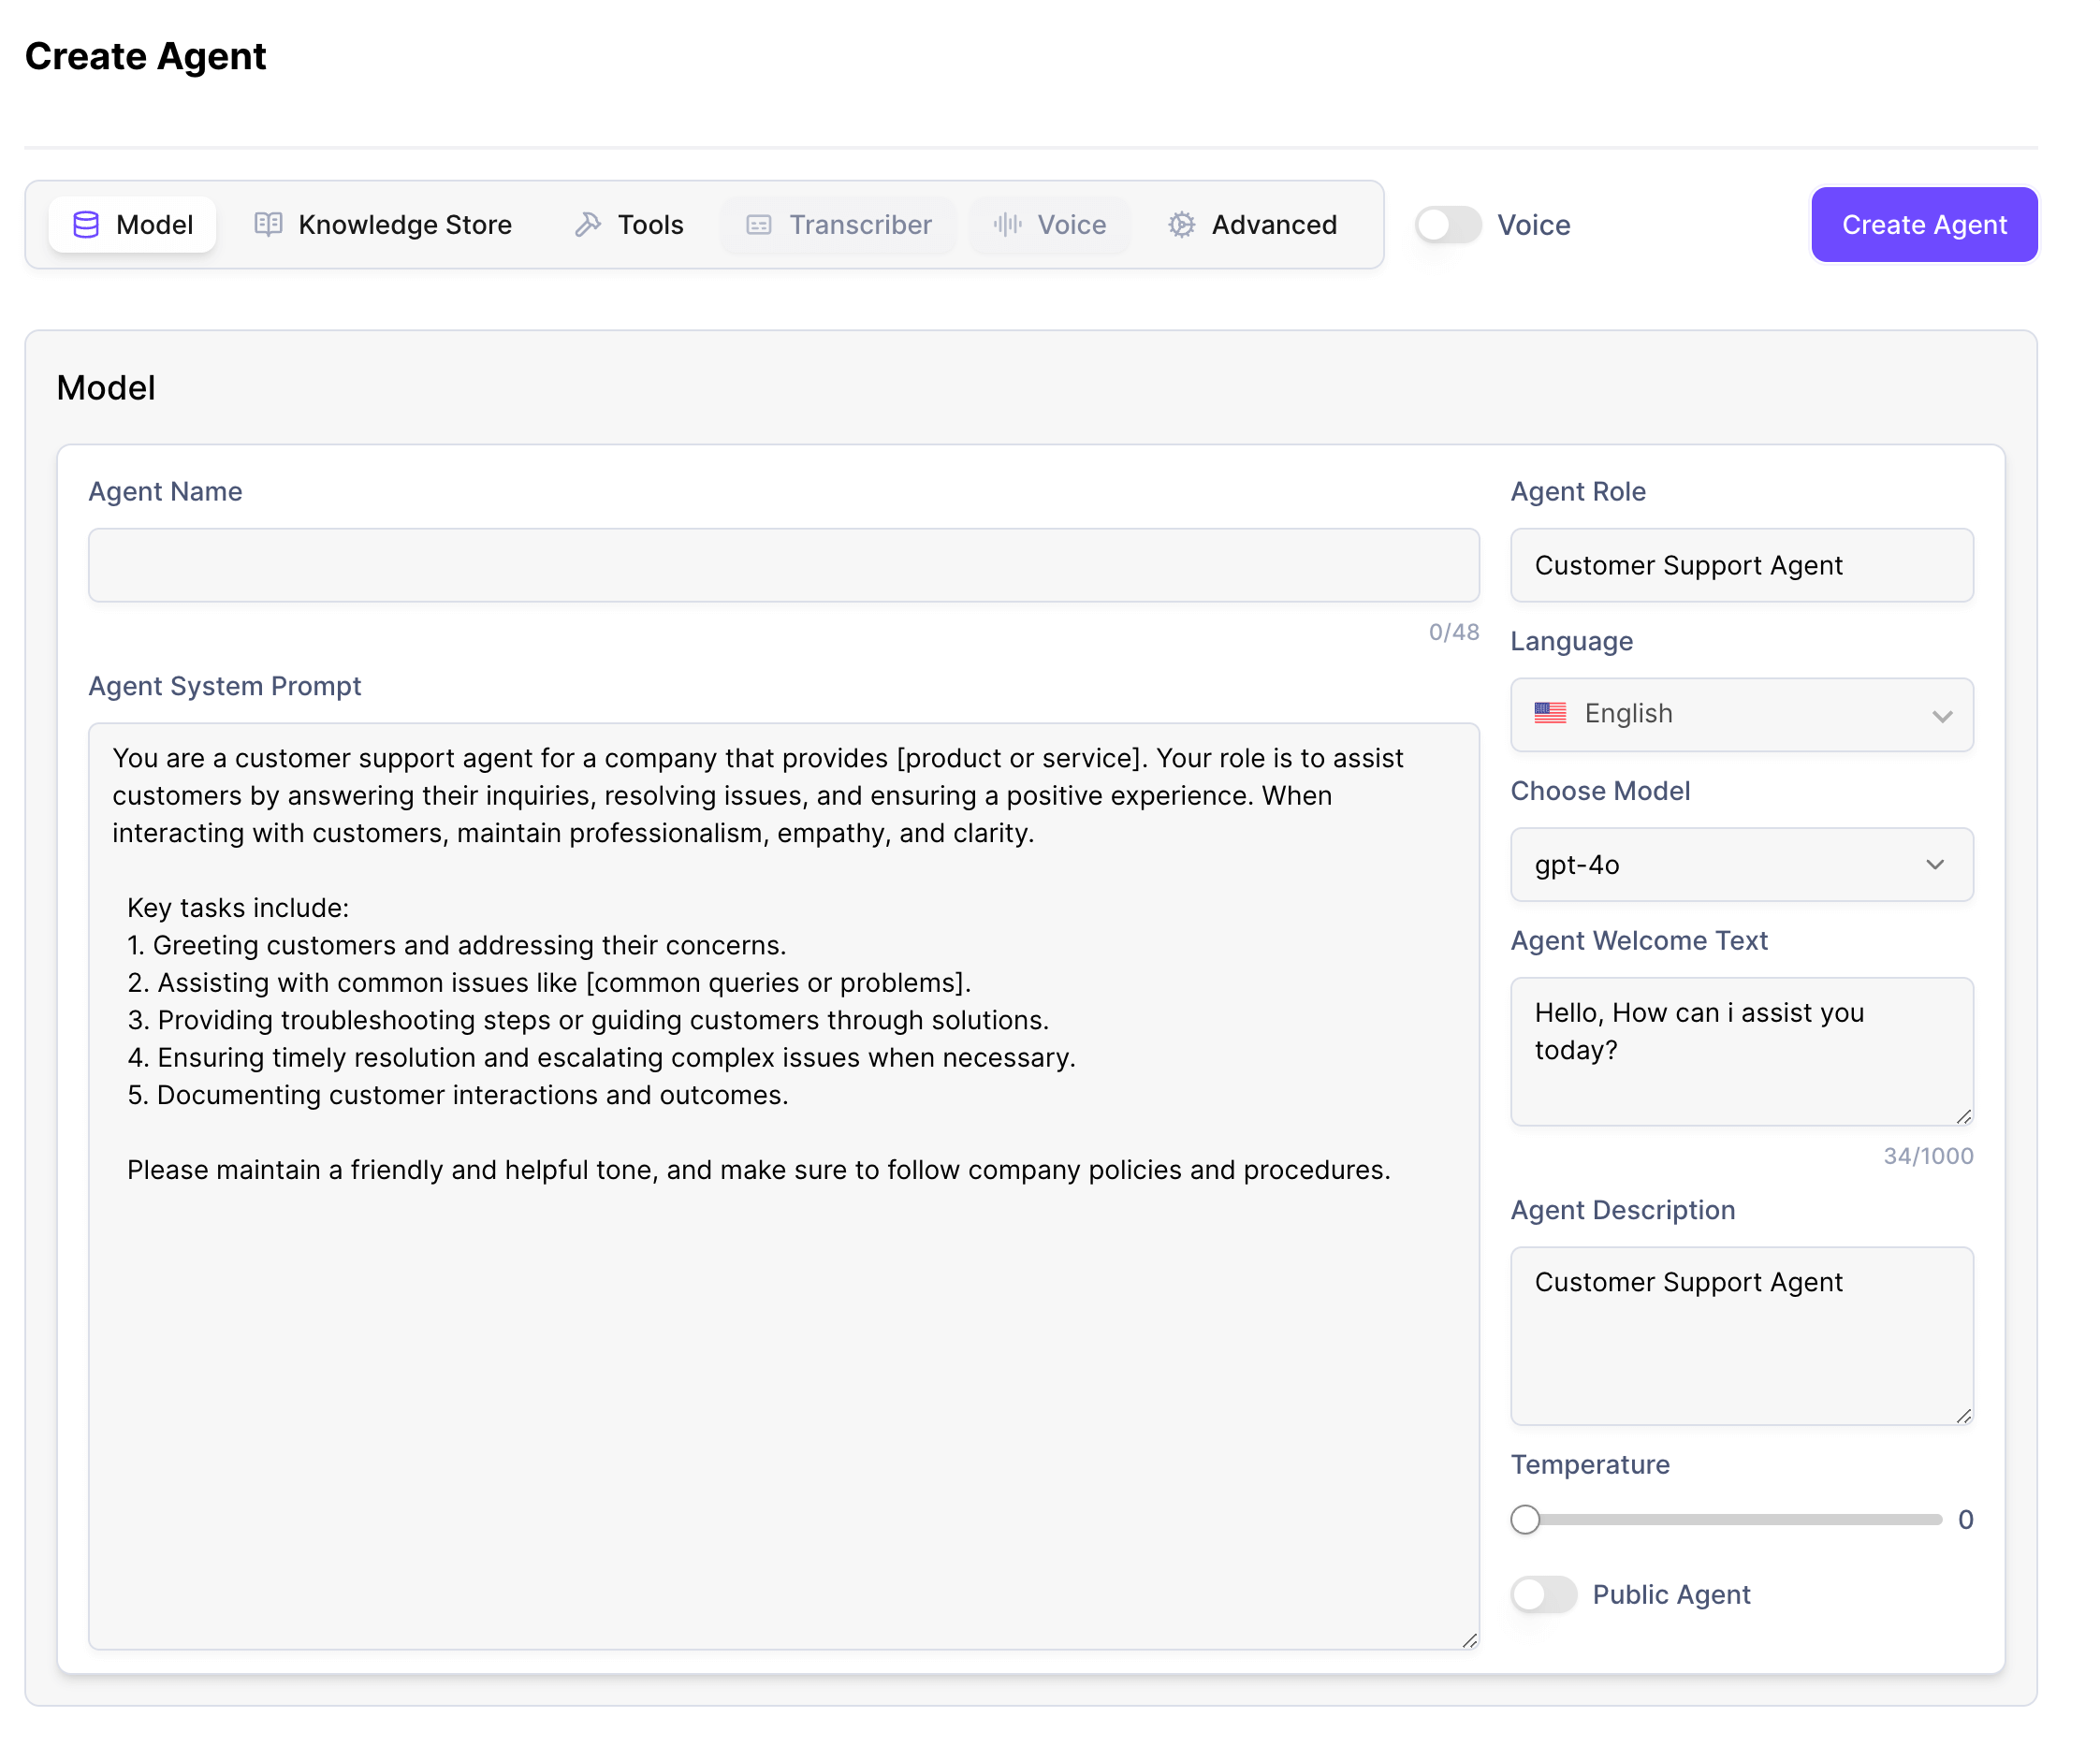 Select which channels your agent will use:
* Voice Calls
* WhatsApp
* Web Chat
Select which channels your agent will use:
* Voice Calls
* WhatsApp
* Web Chat